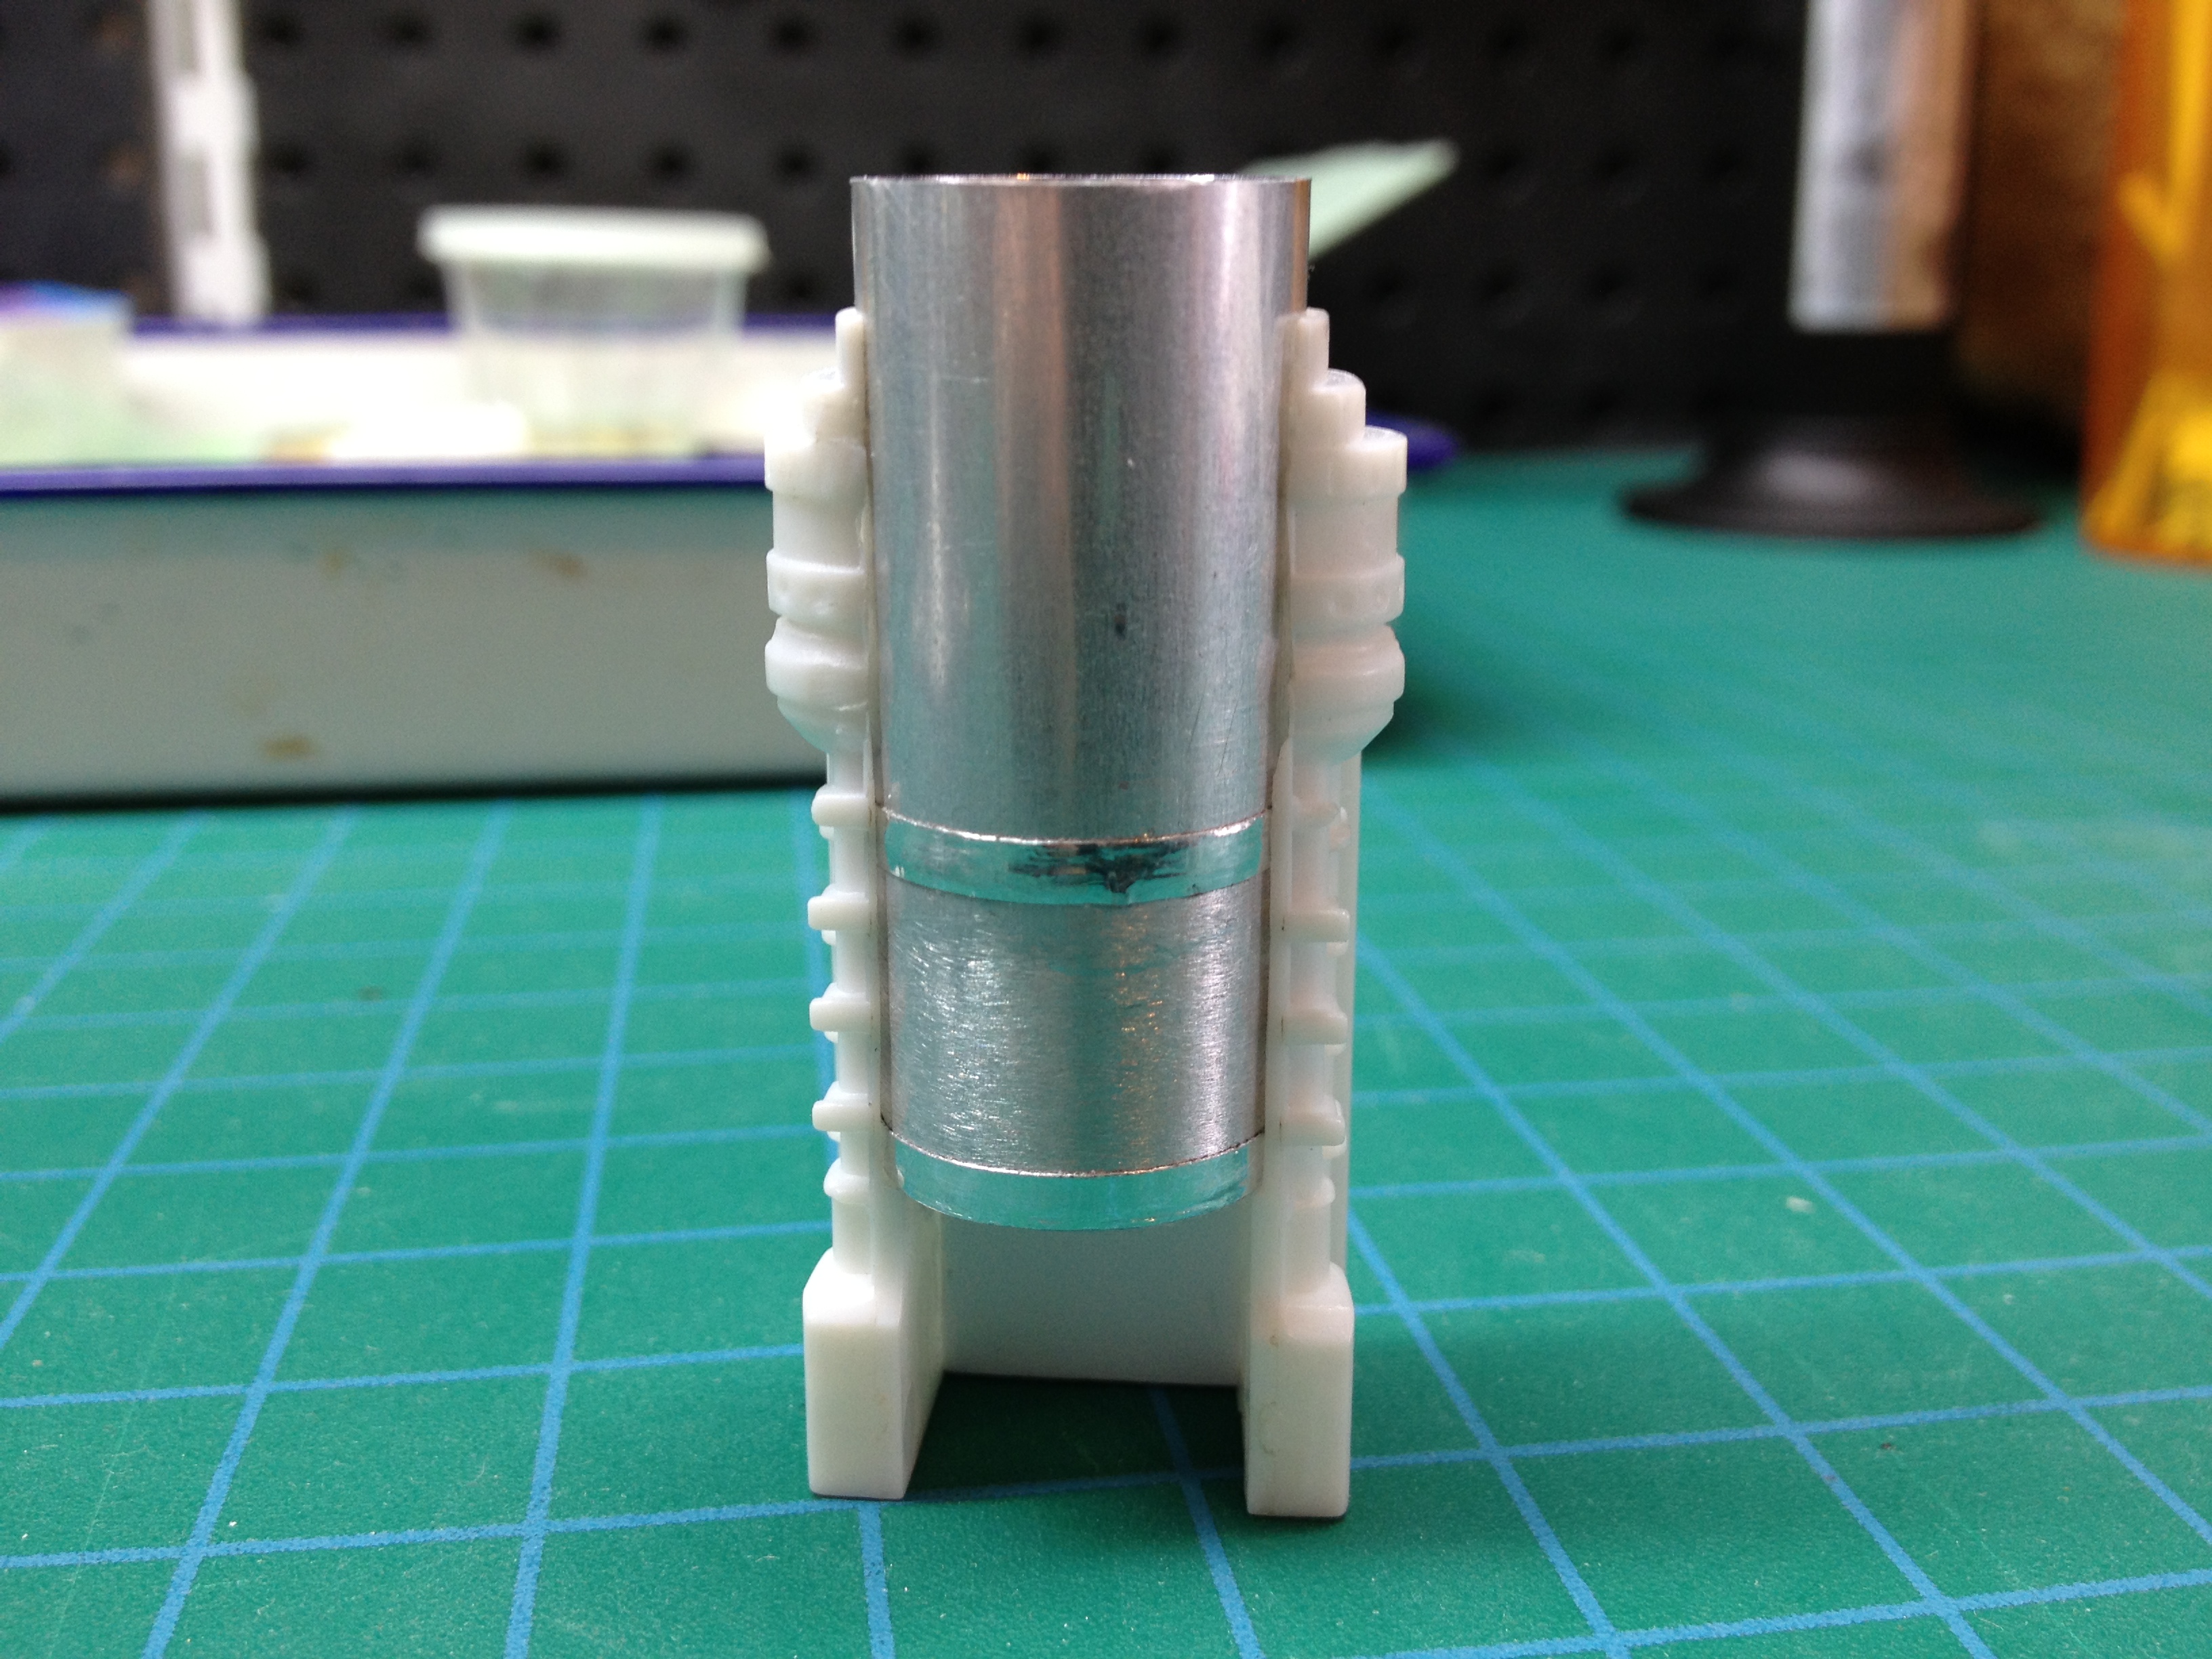
Center Engine Bottom View
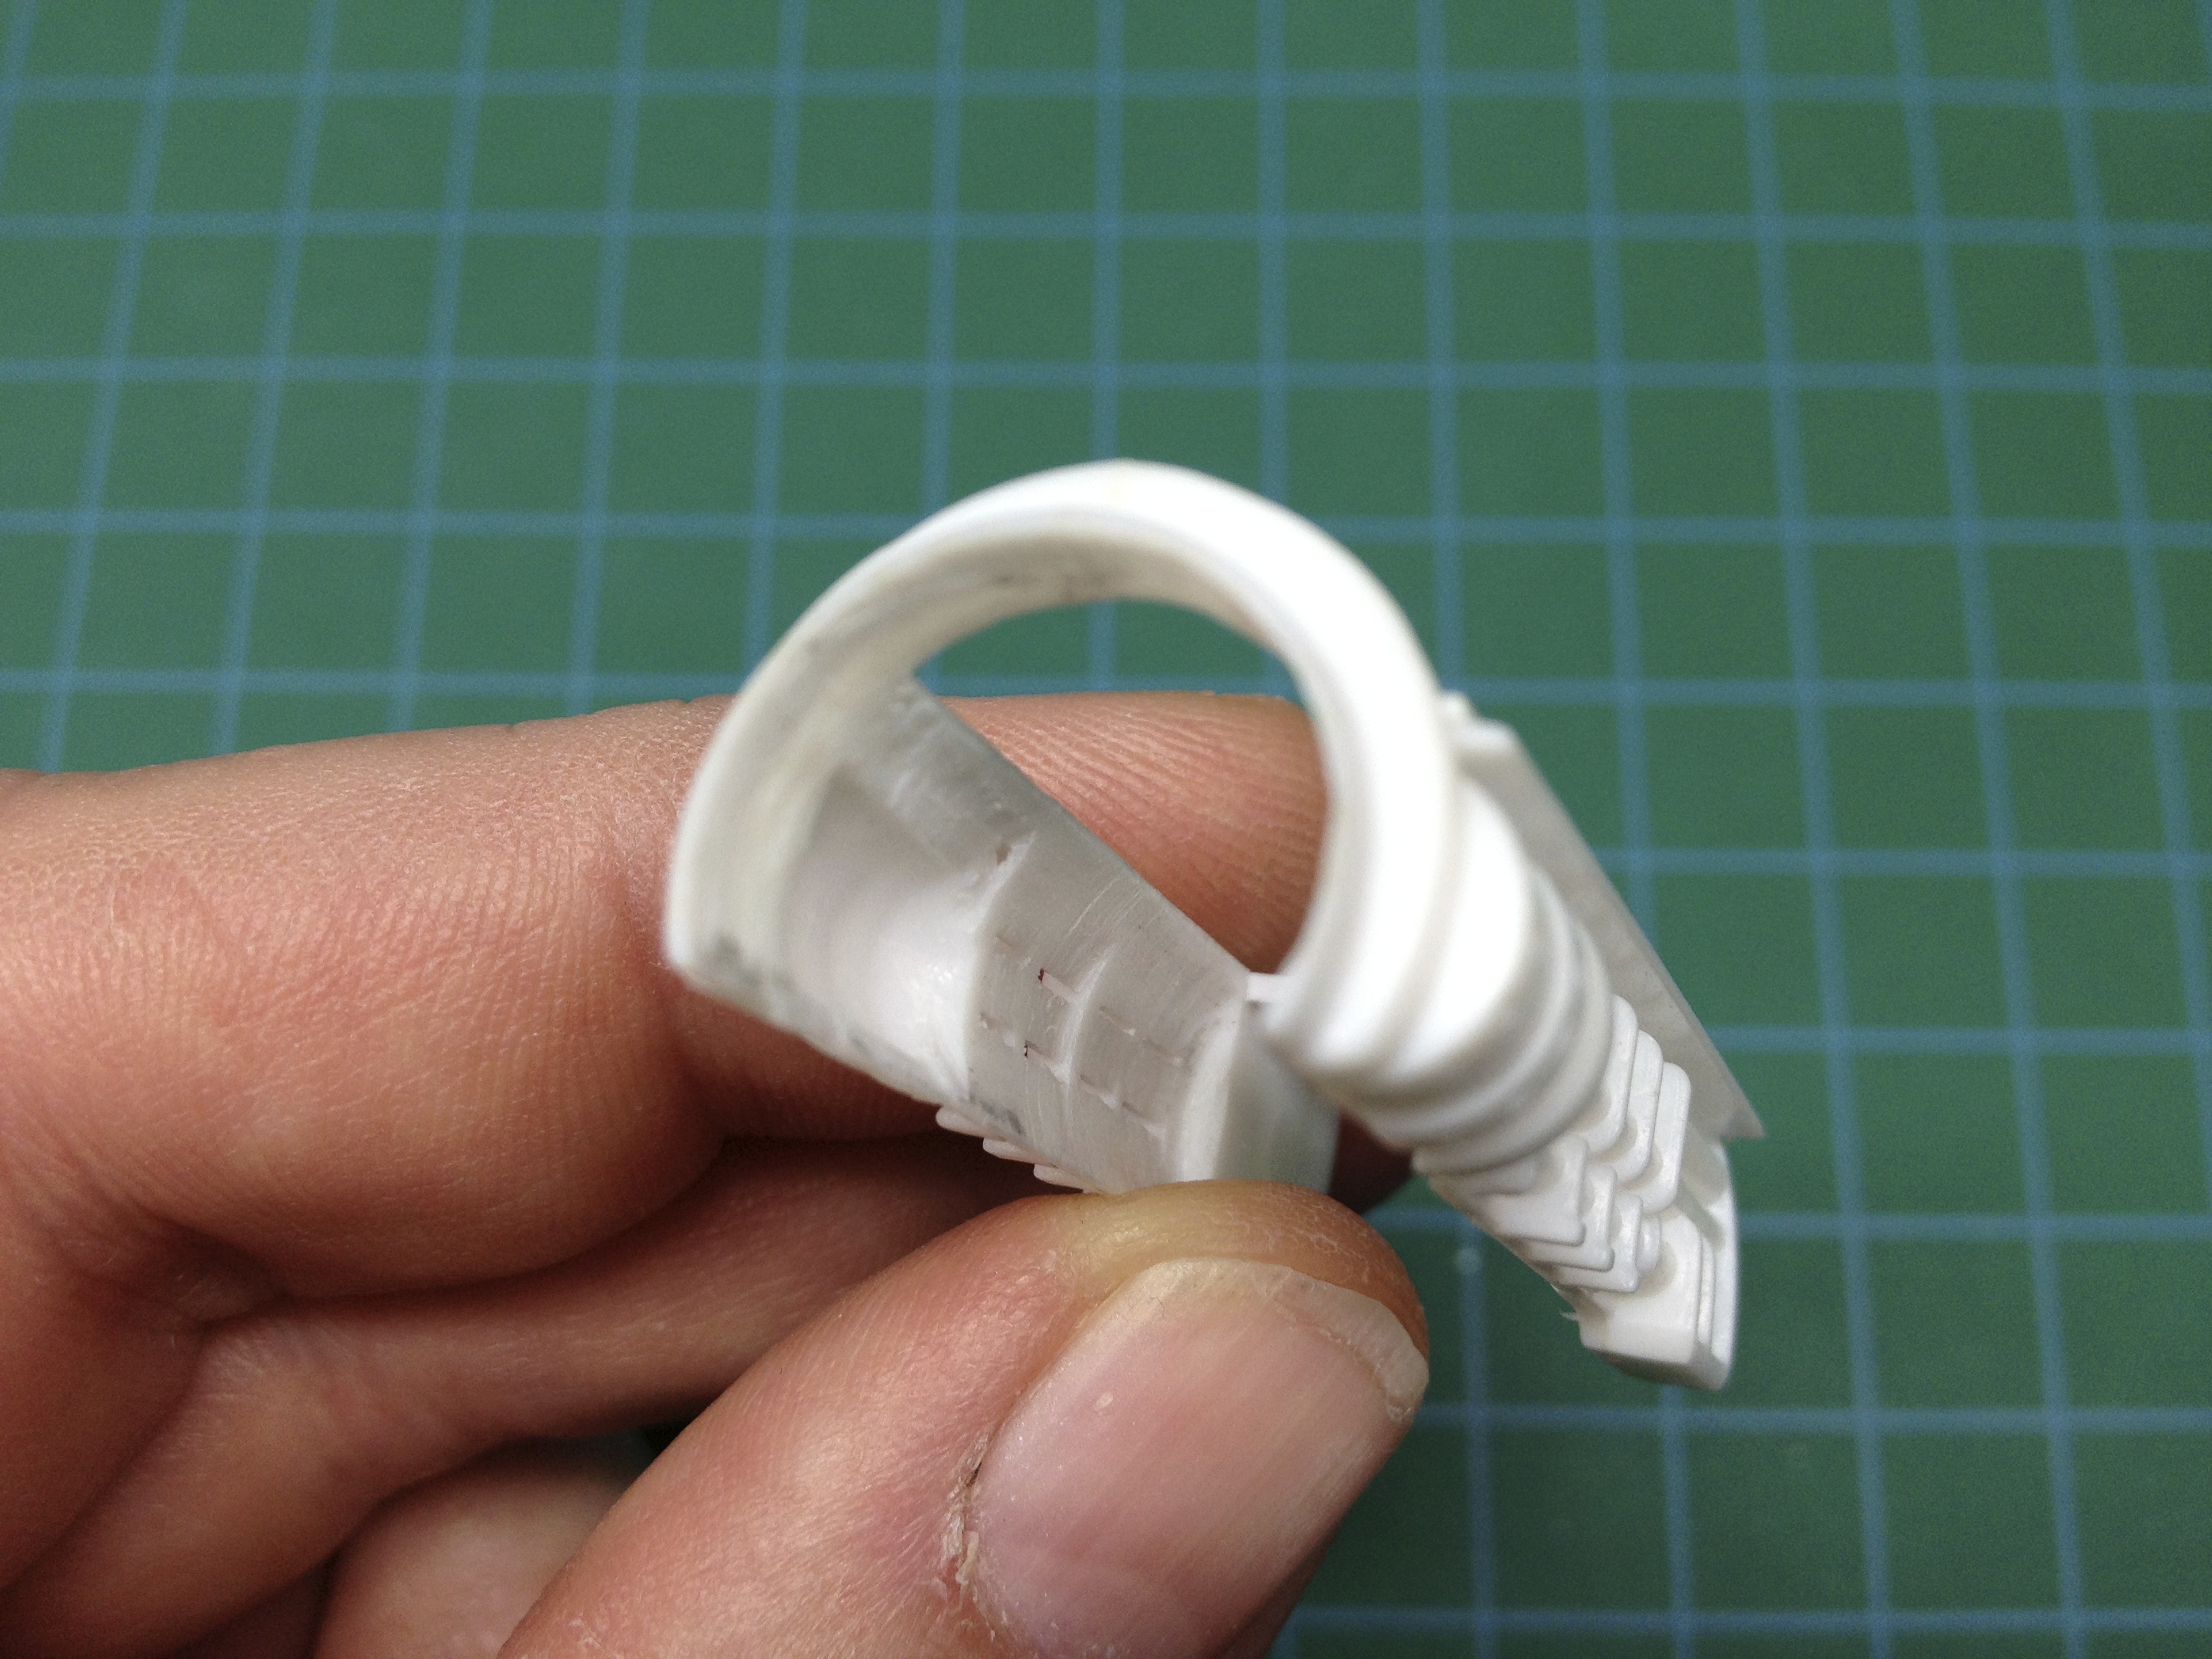
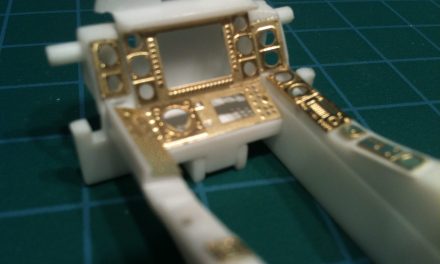
Here can be seen the engine can construction. The center can is fitted into the modified kit part.
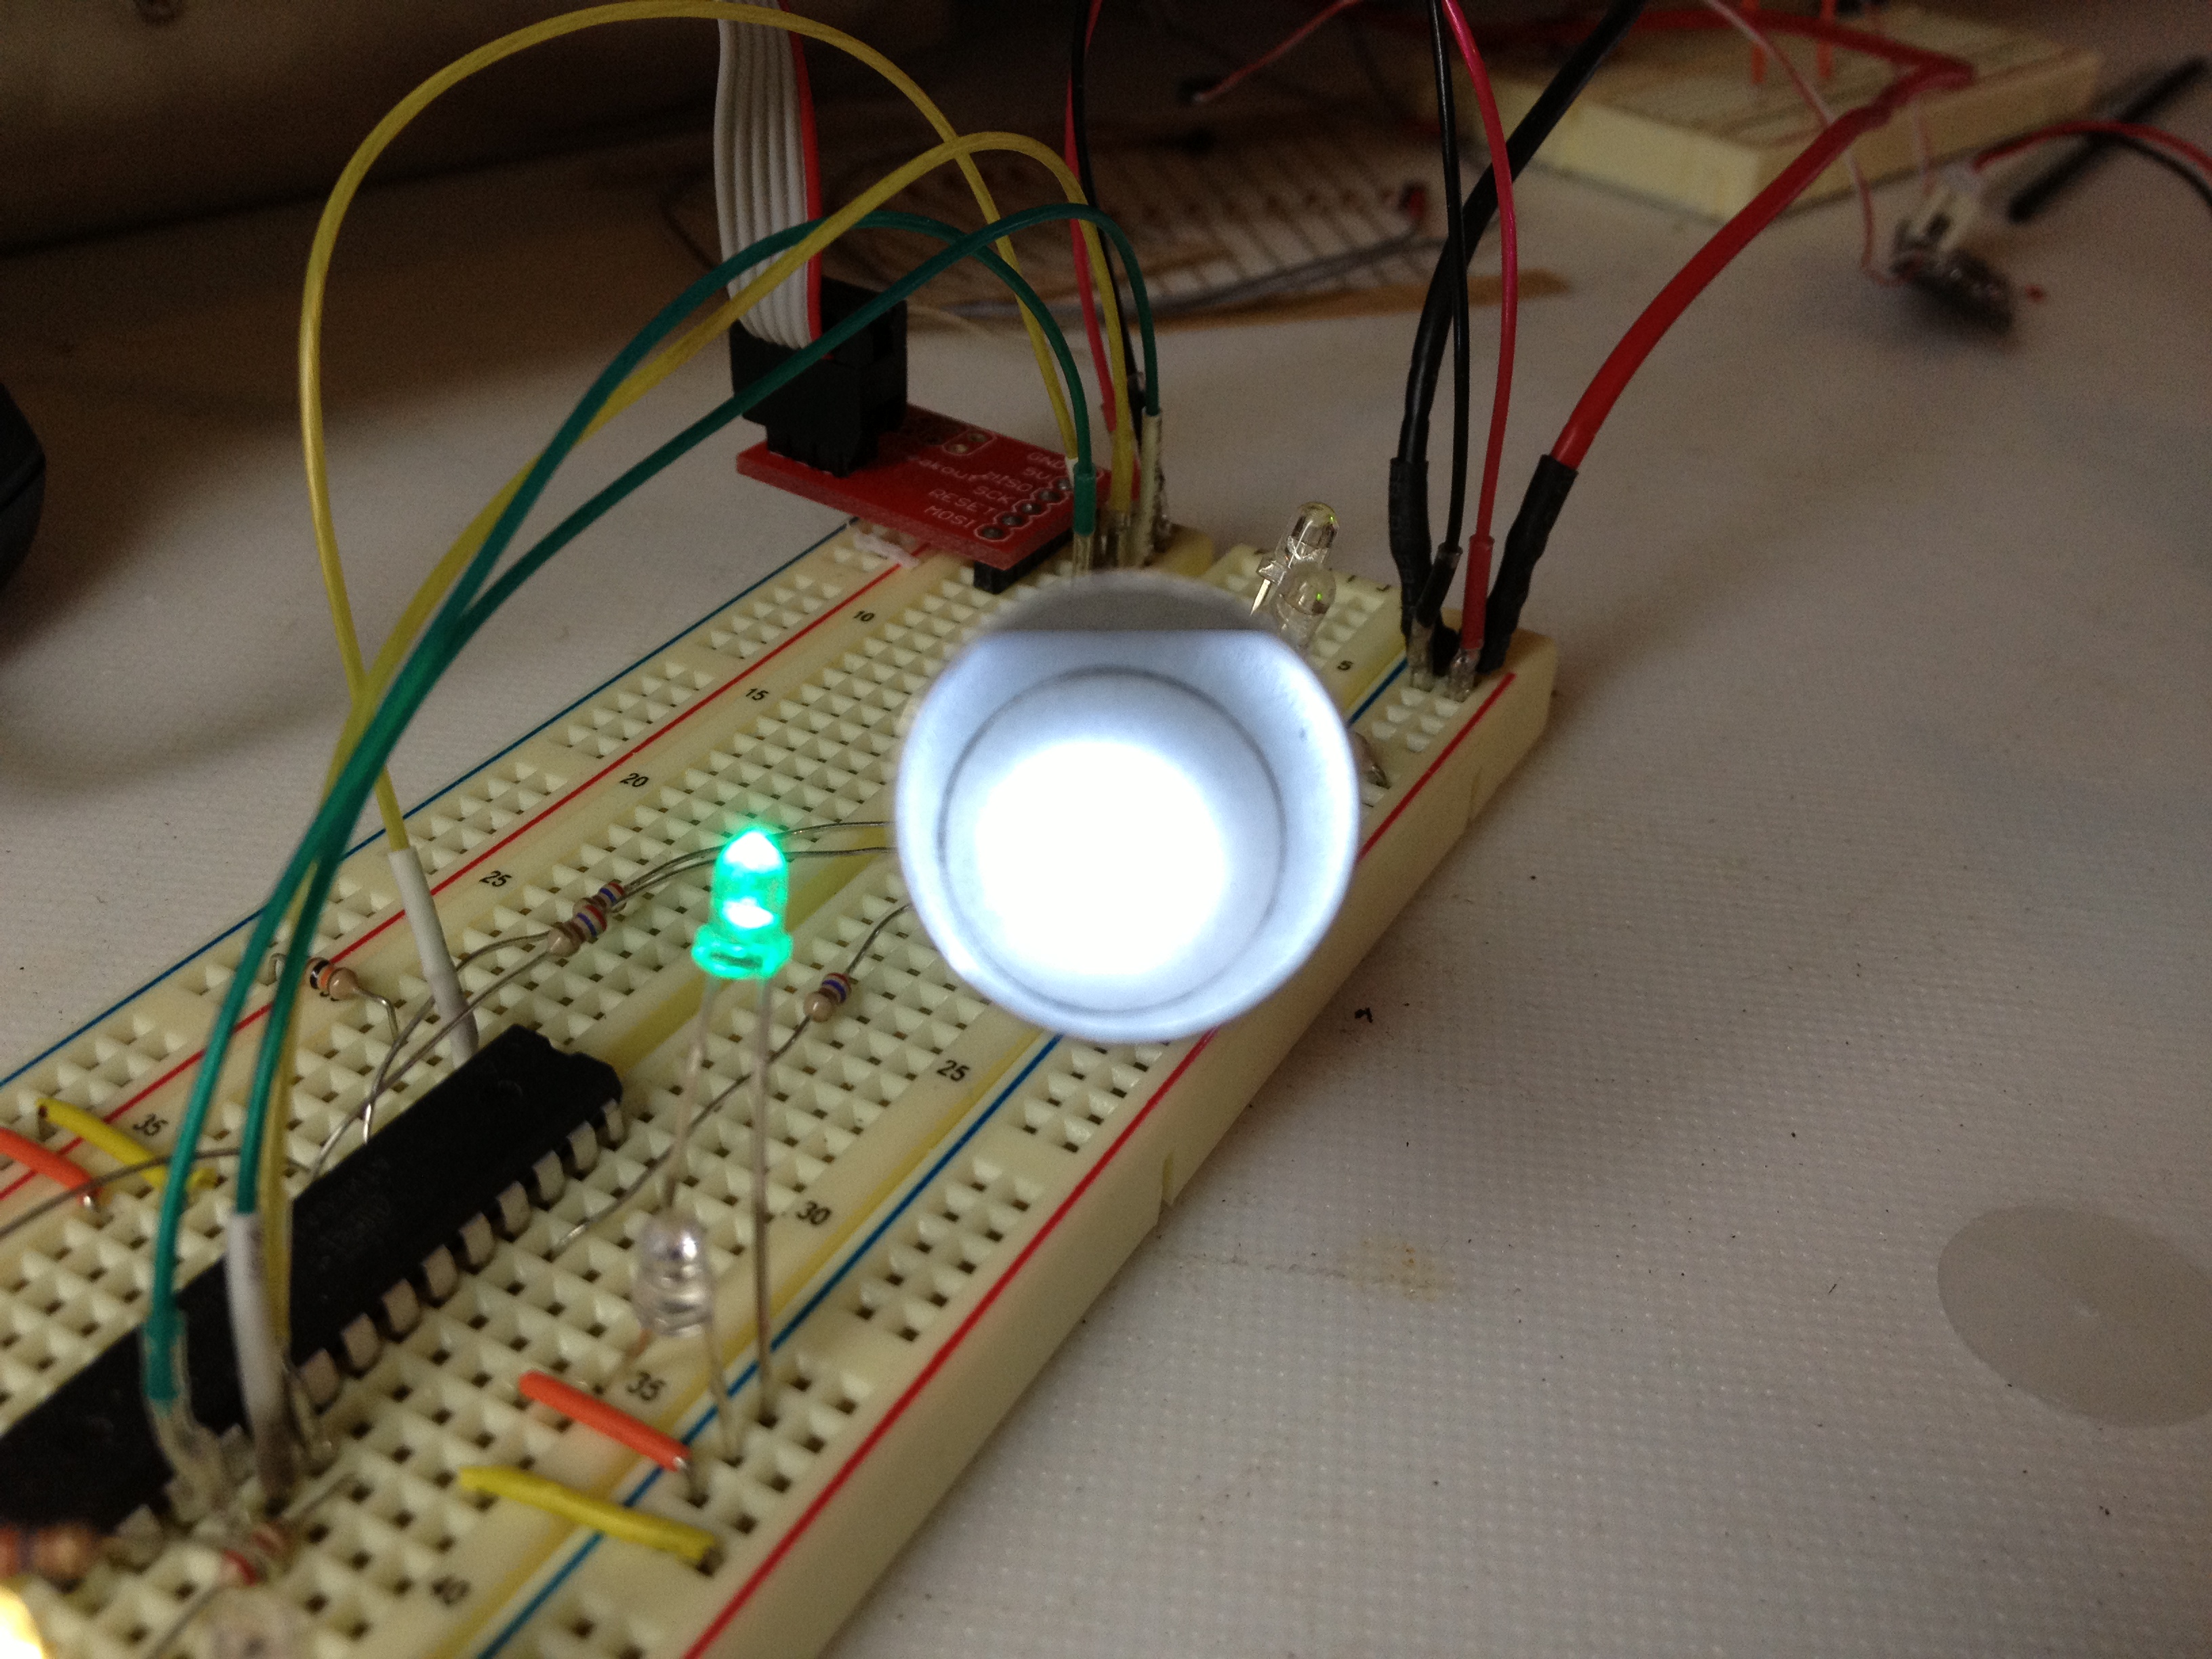
Ignition!
Testing the LED lighting. The circuit I’ve programmed flashes the three engines at a high rate of speed, replicating the Vipers engines beautifully
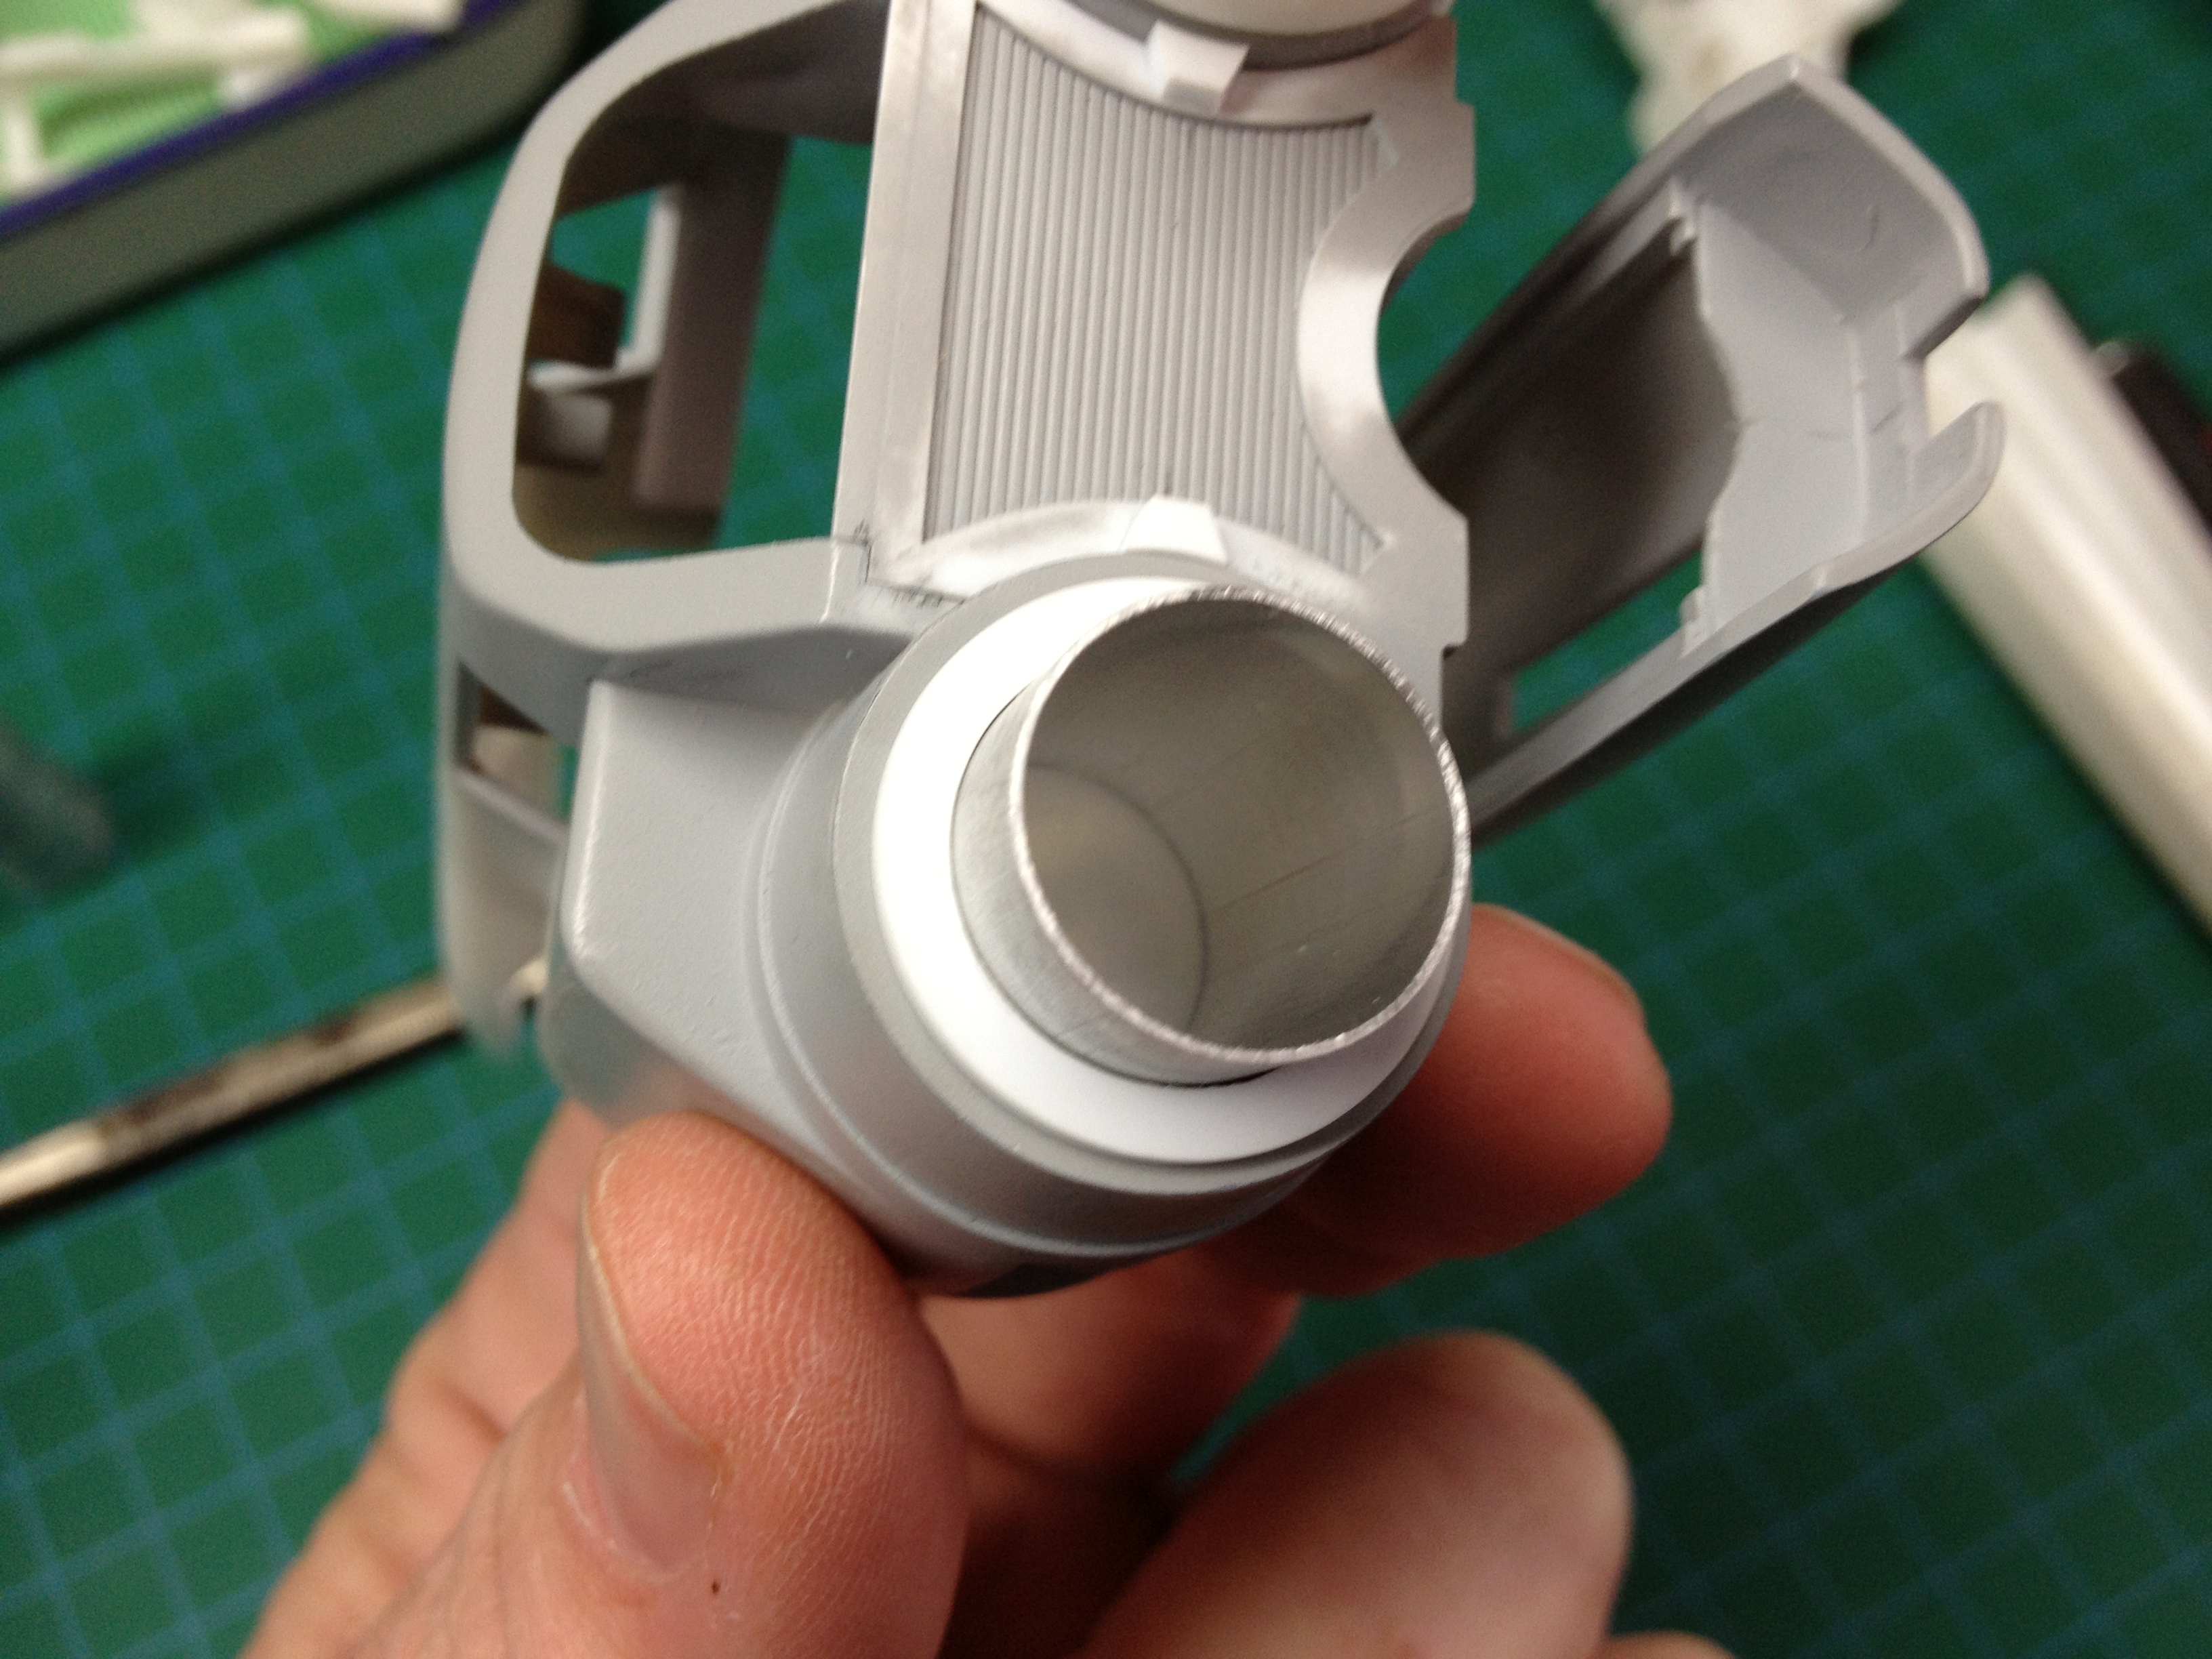
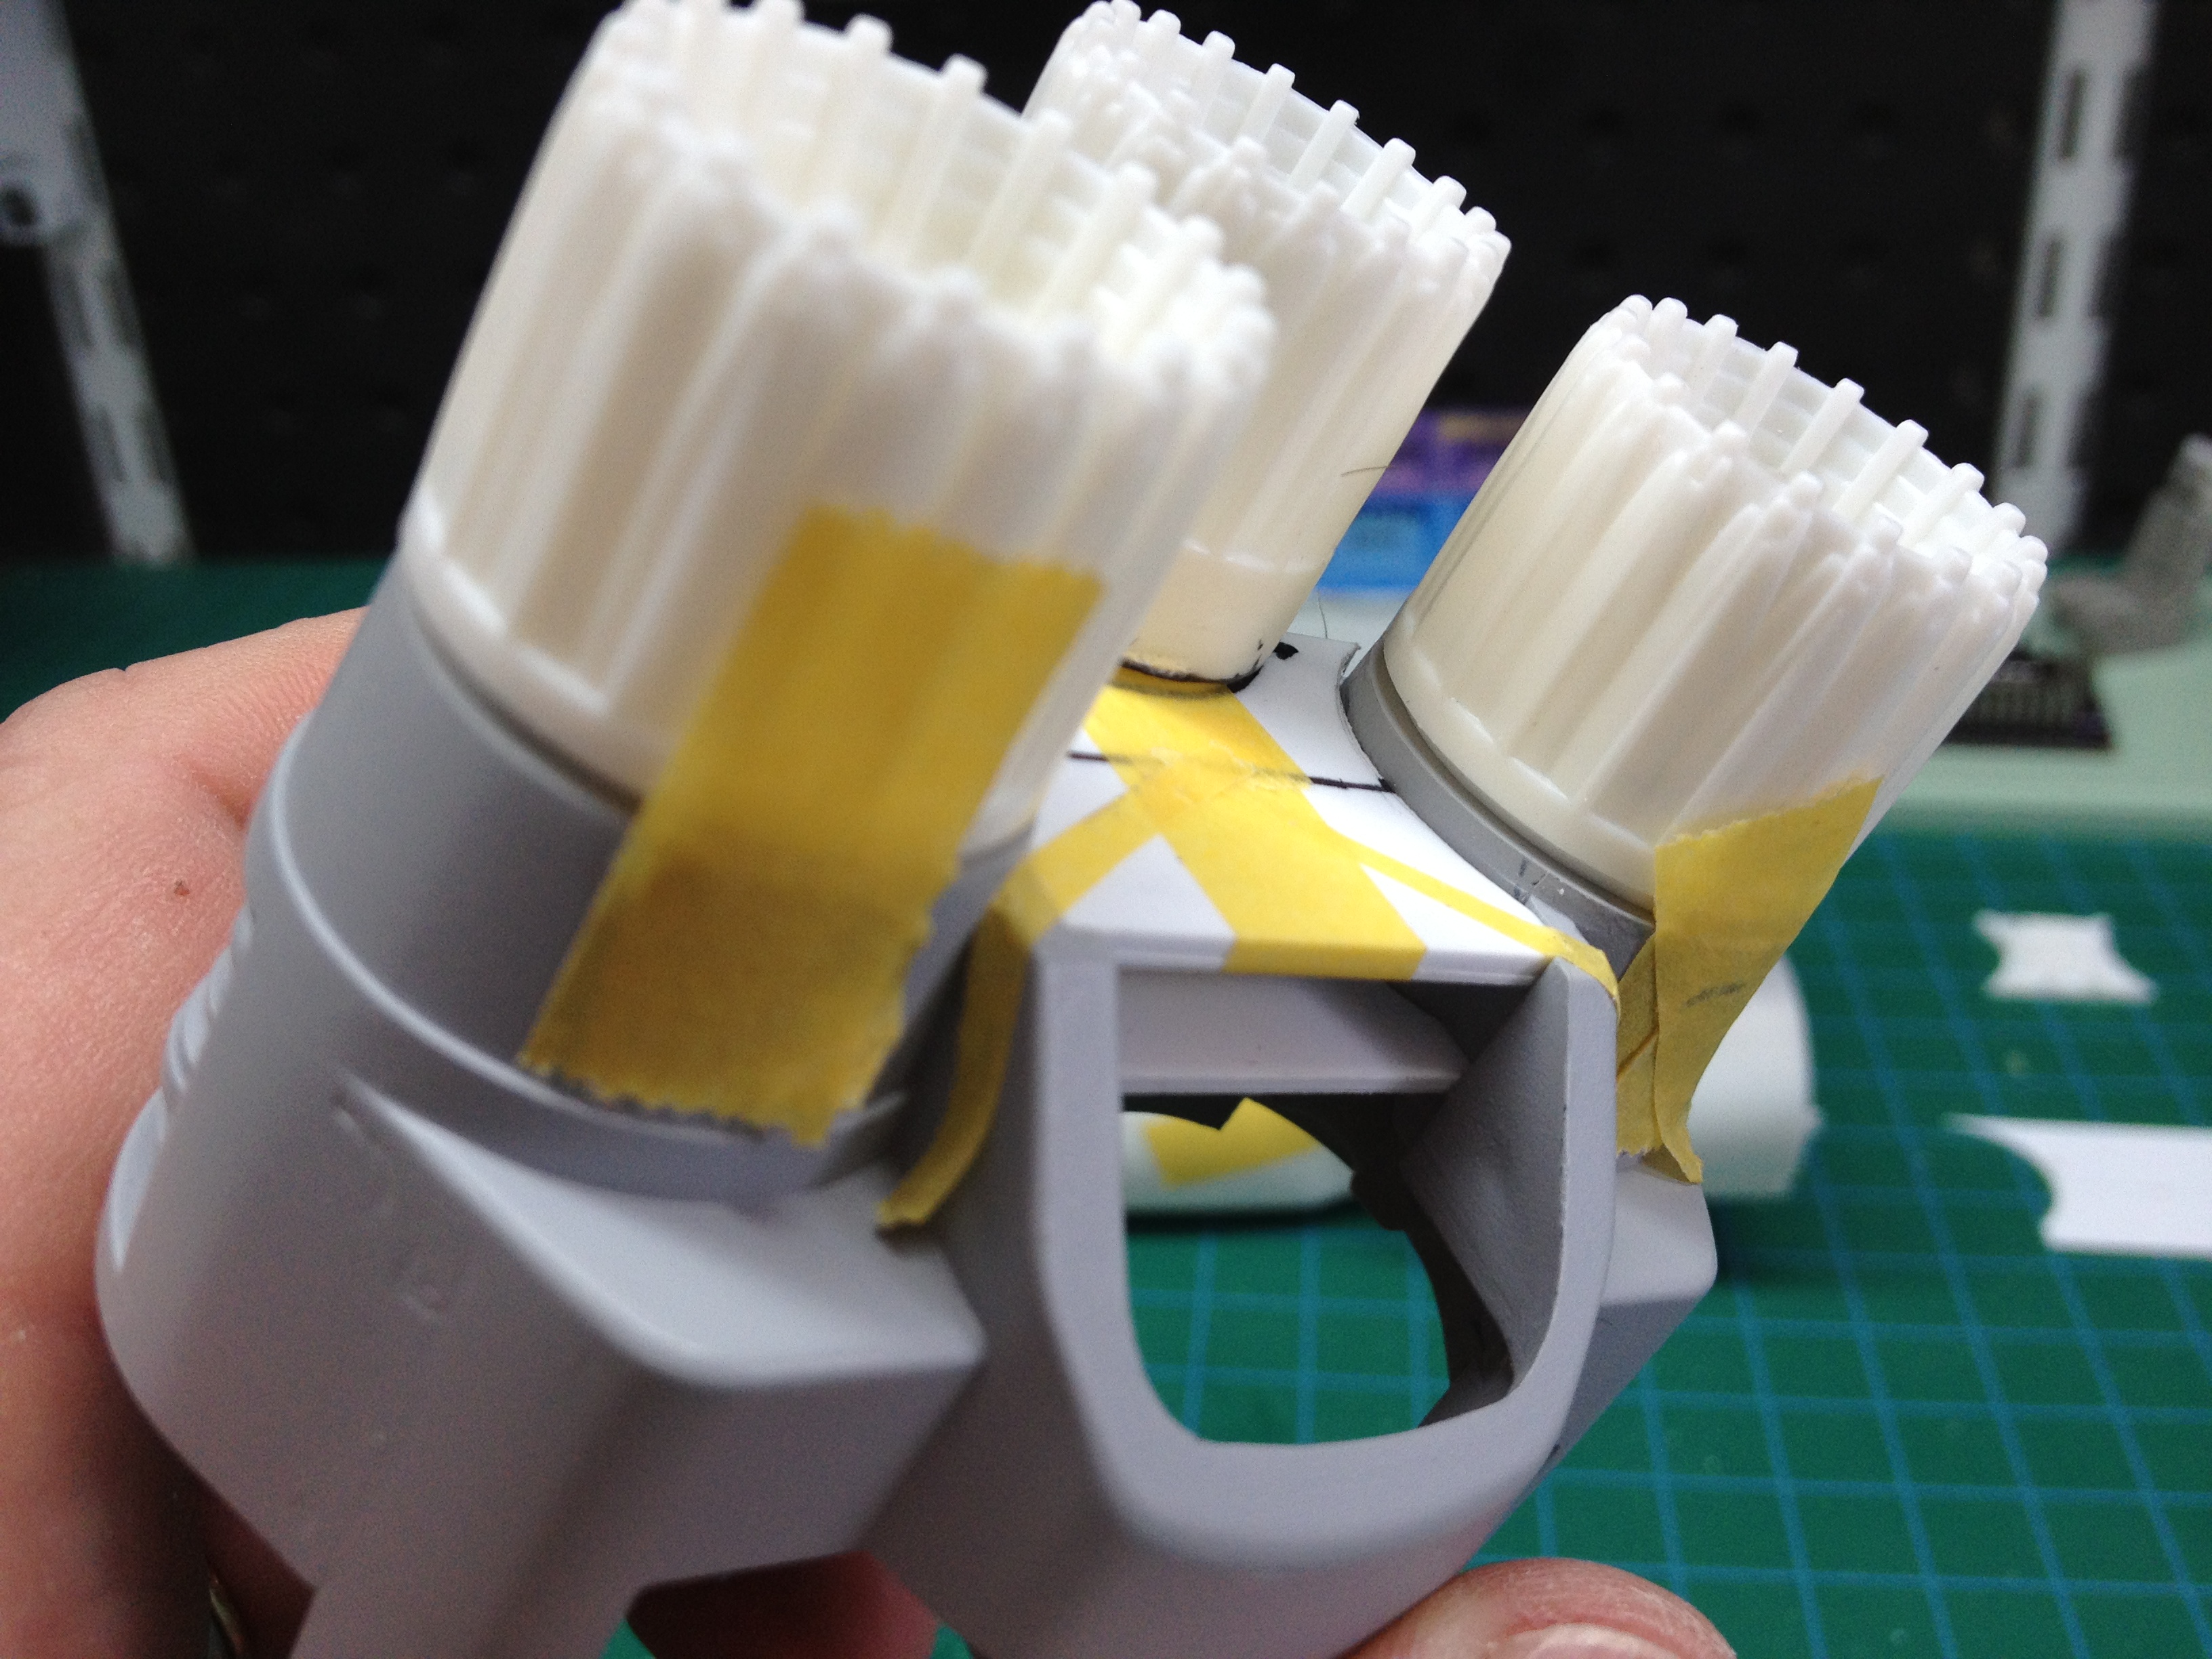
Aft view with engine
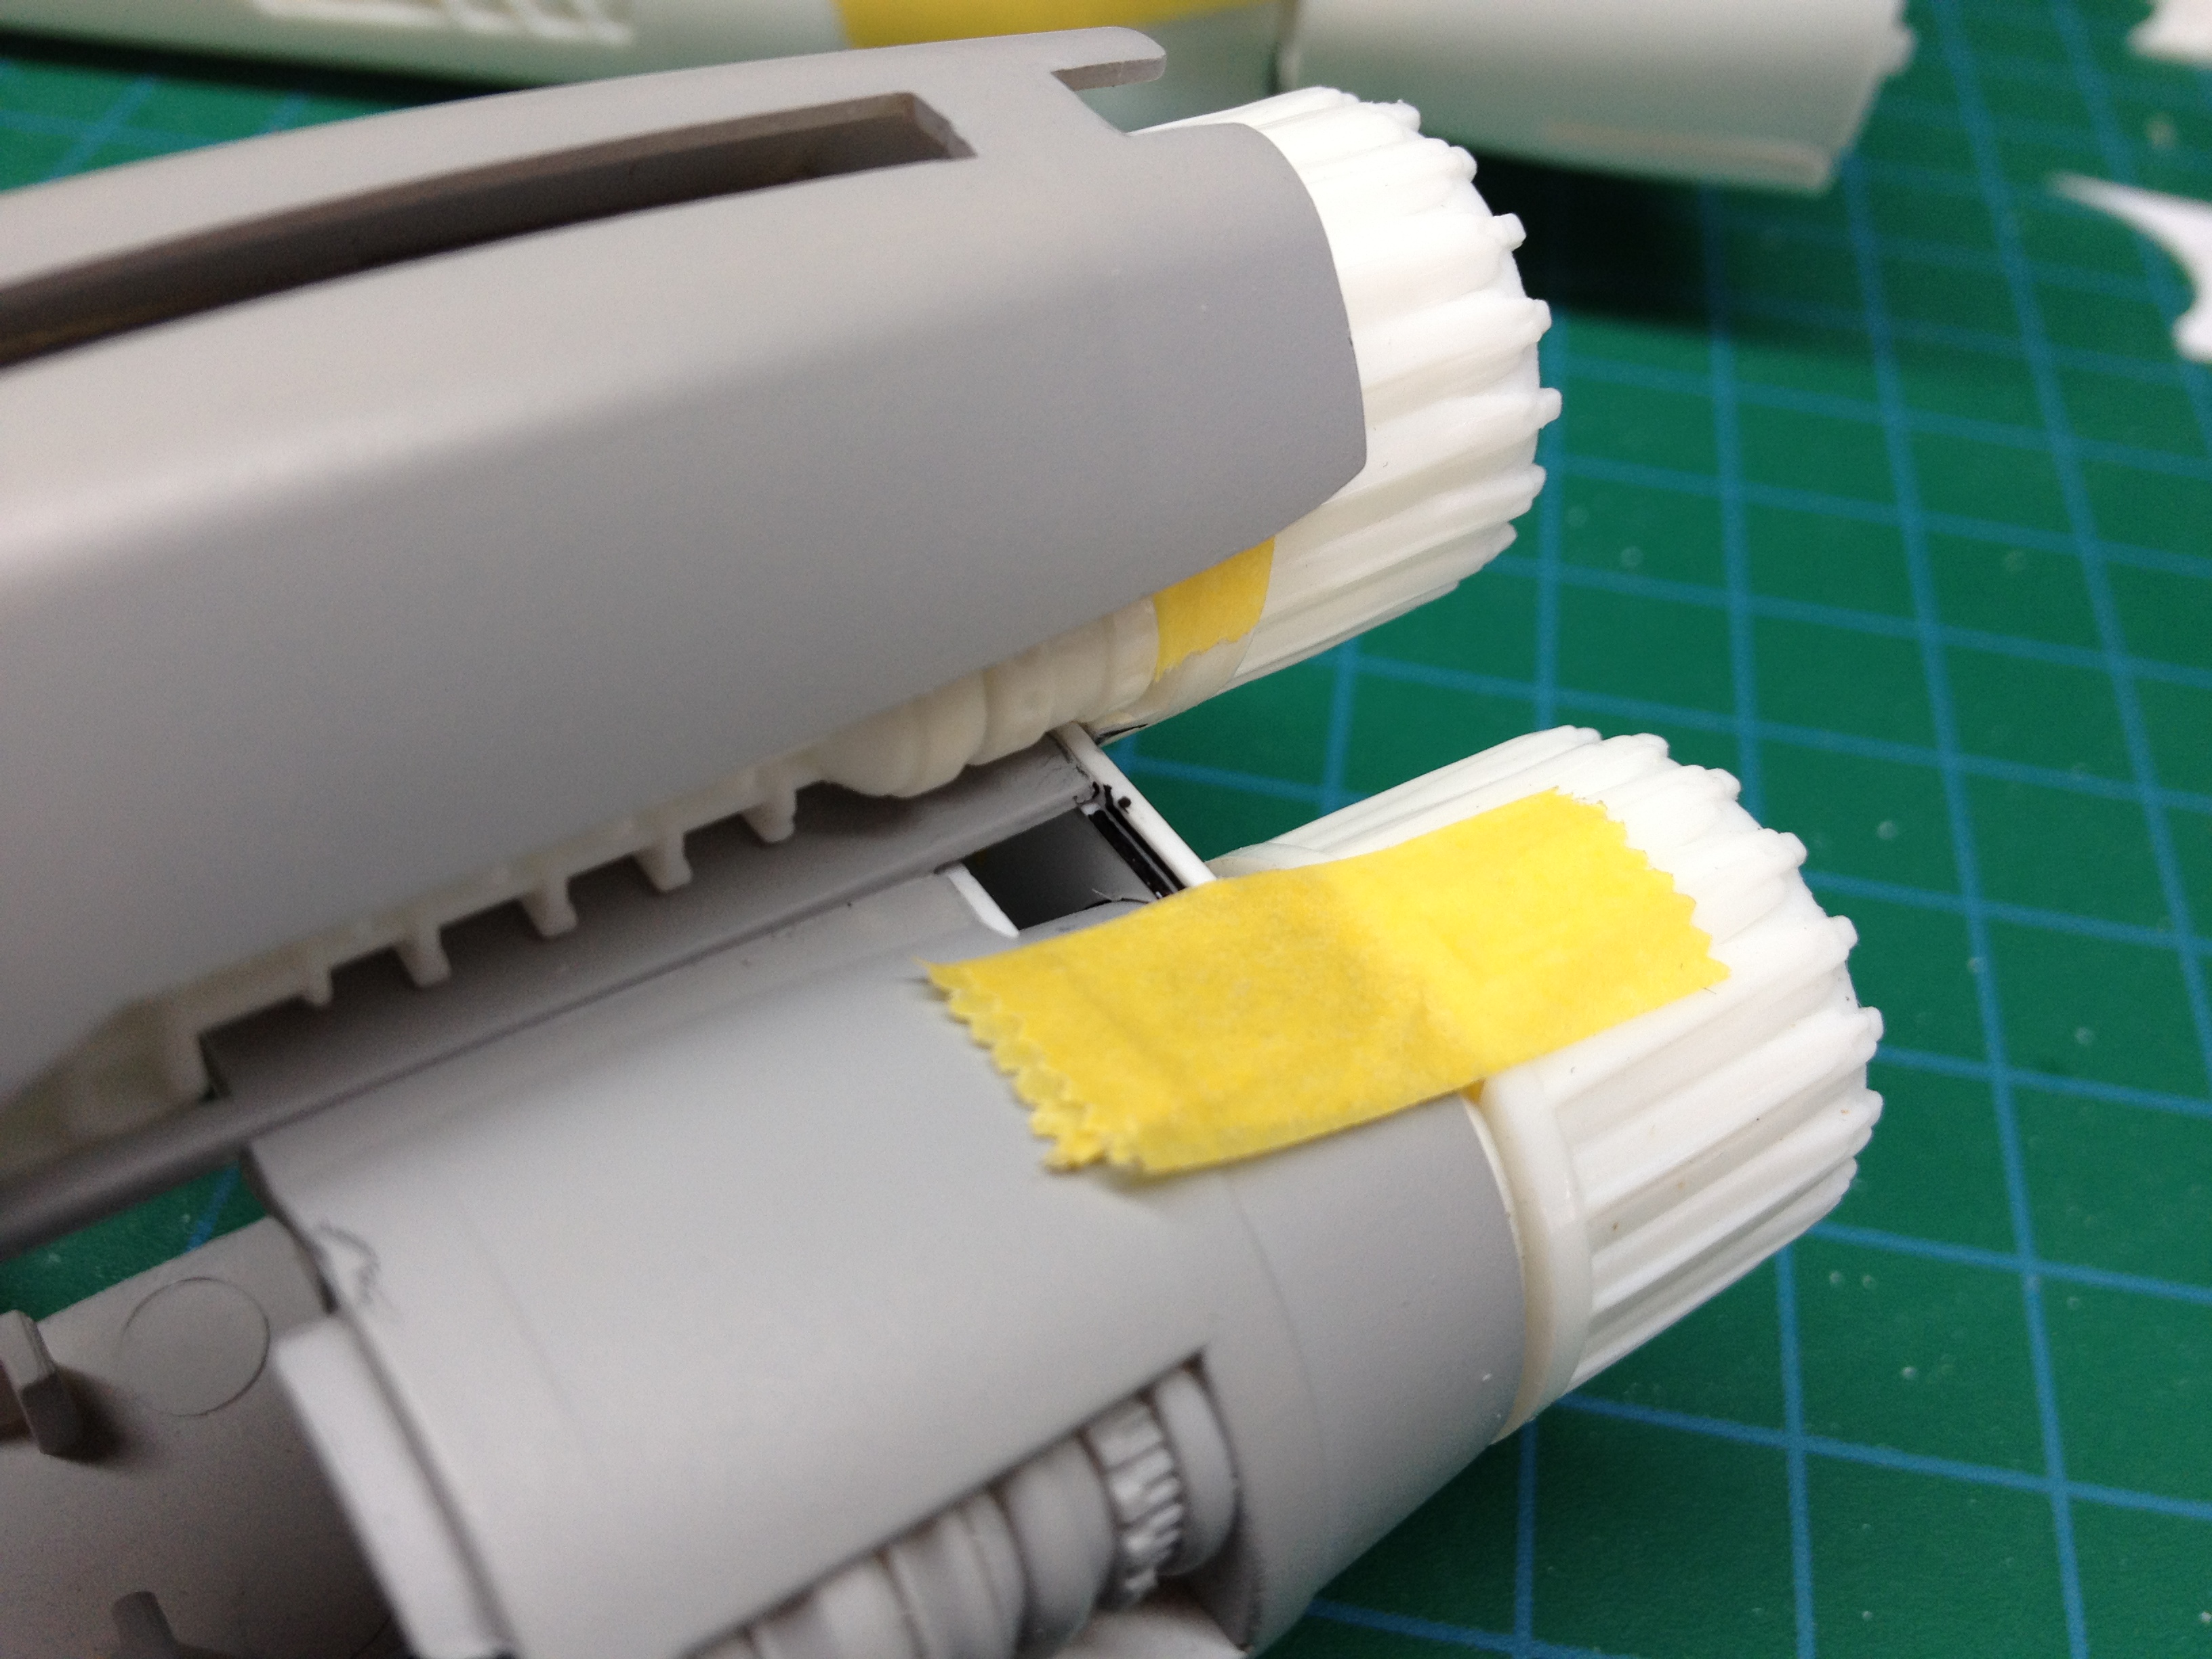
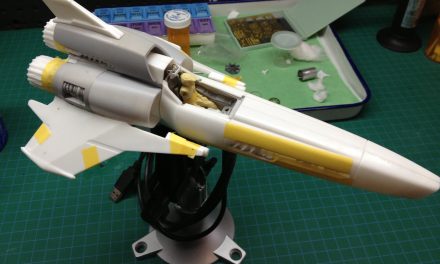
Fitting the engine cans and replacement offset ring. The aft bulkhead can also be seen fitted.
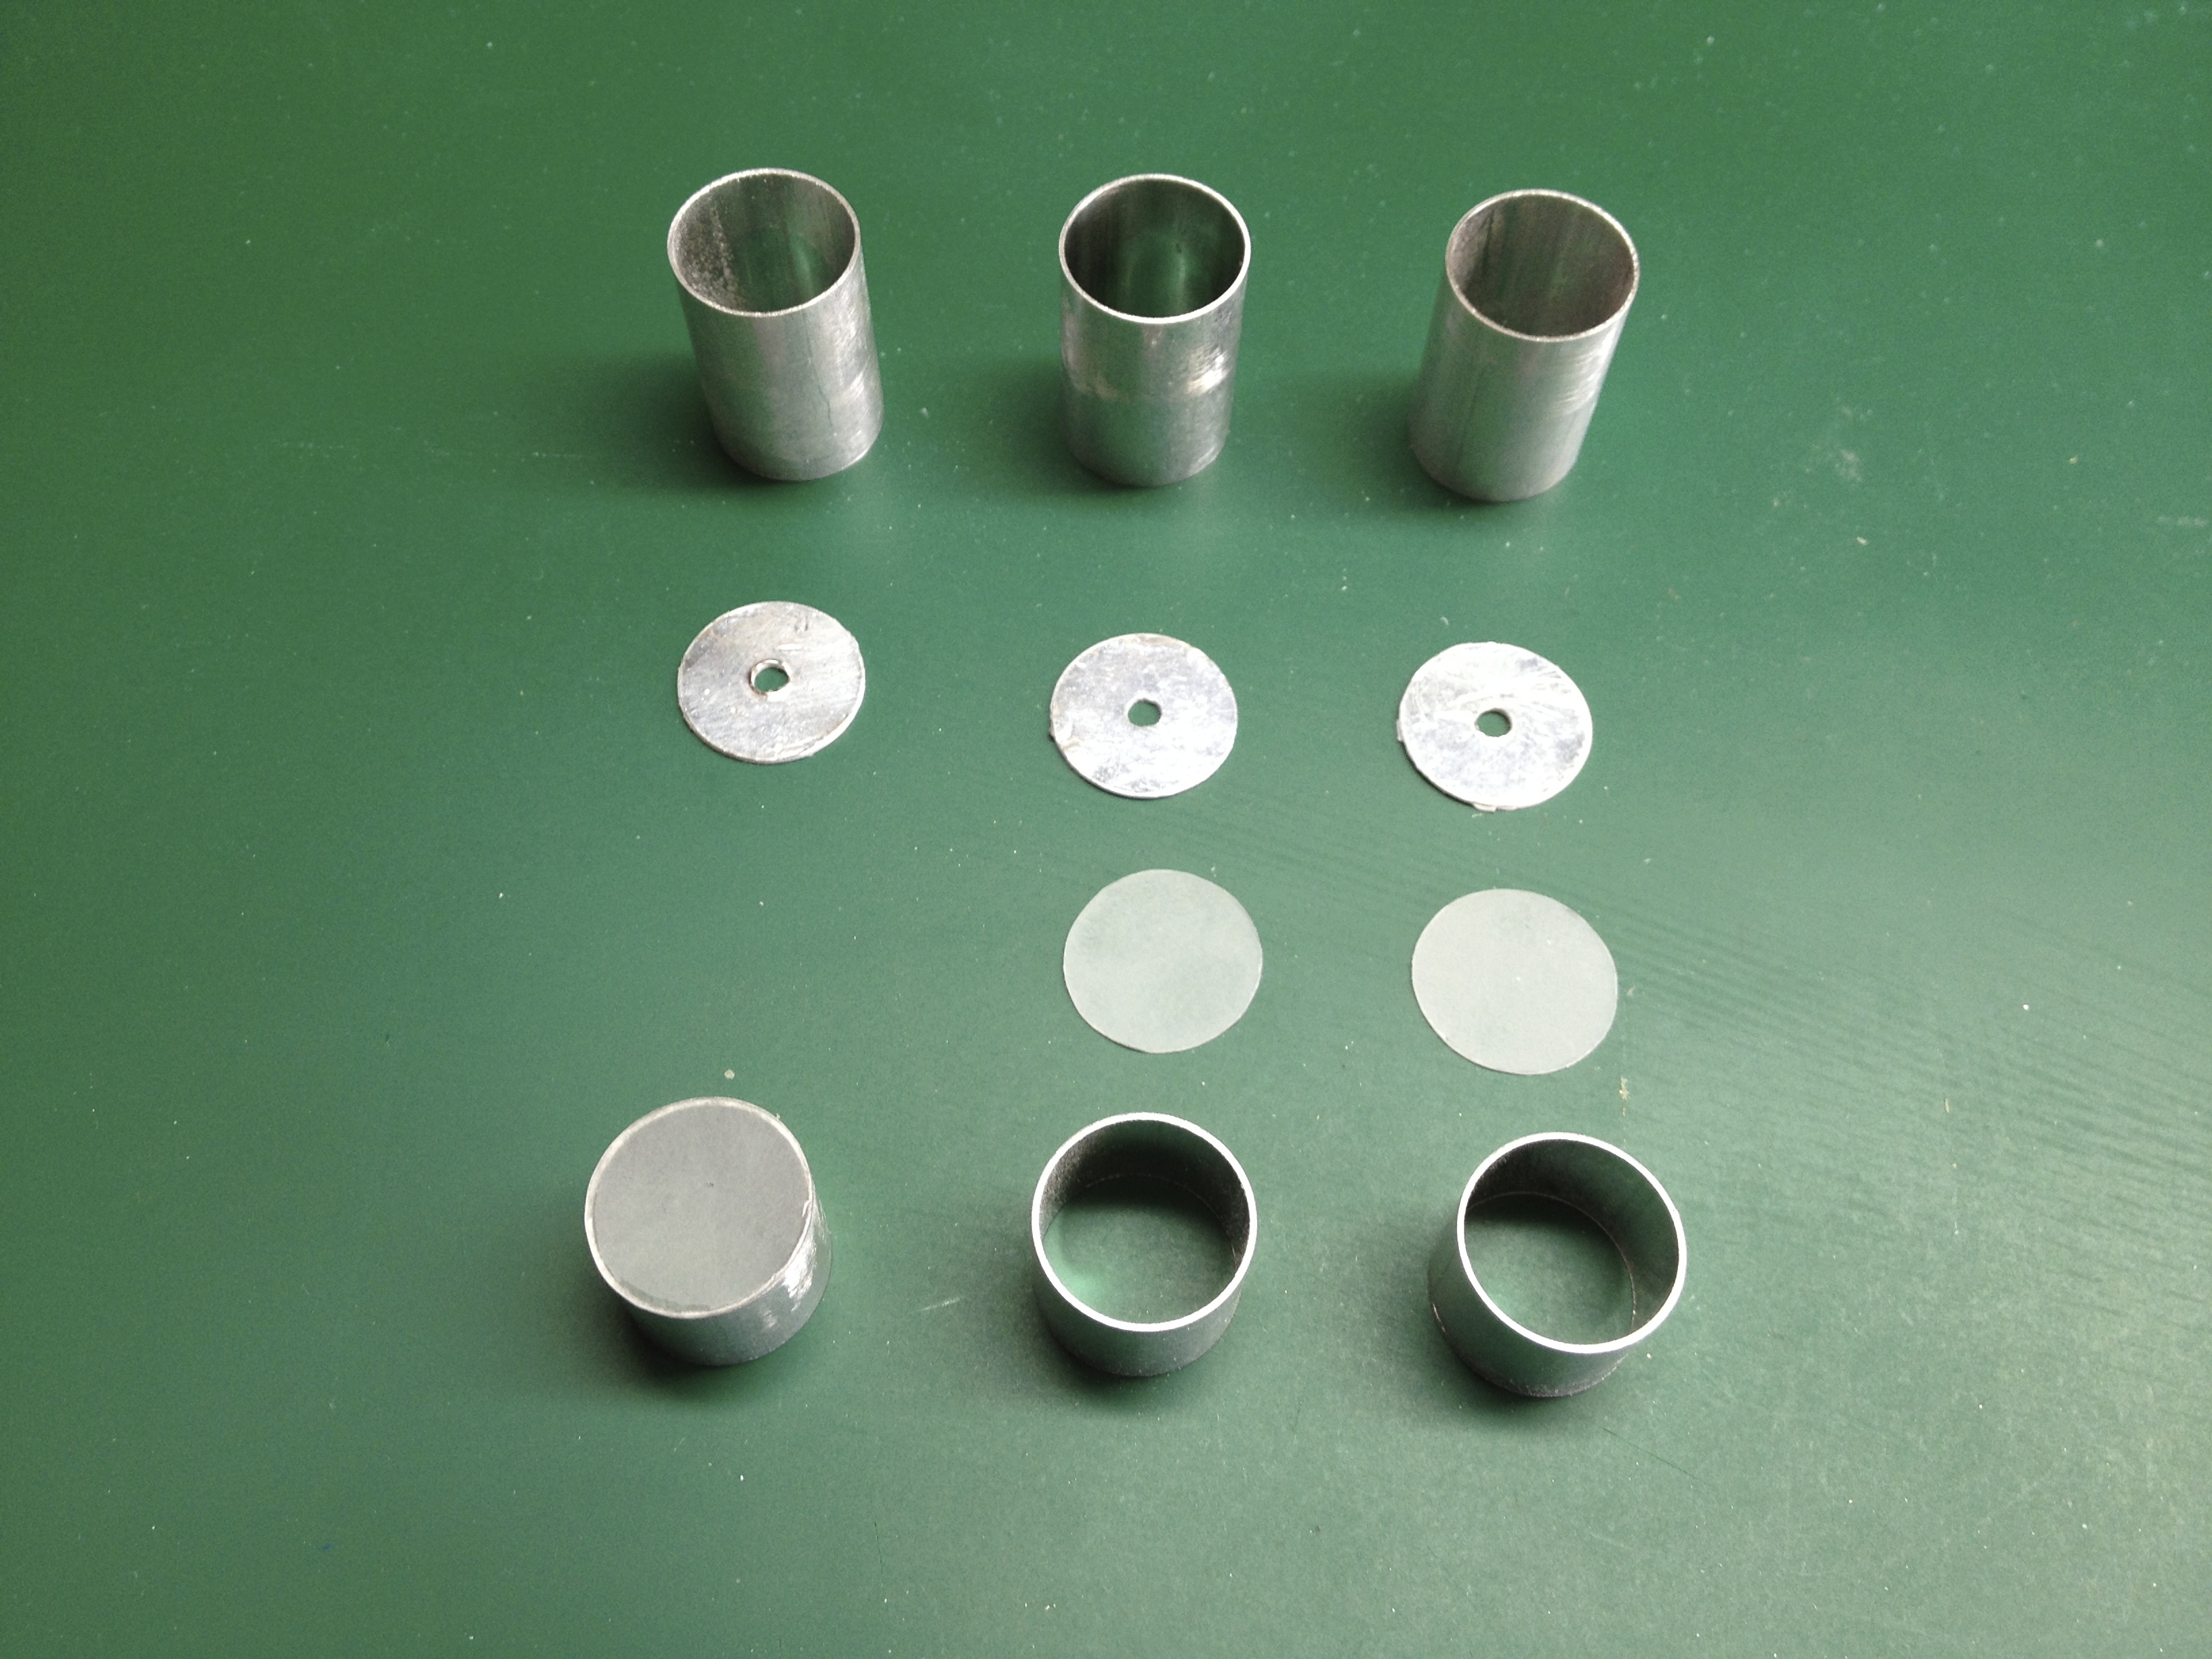
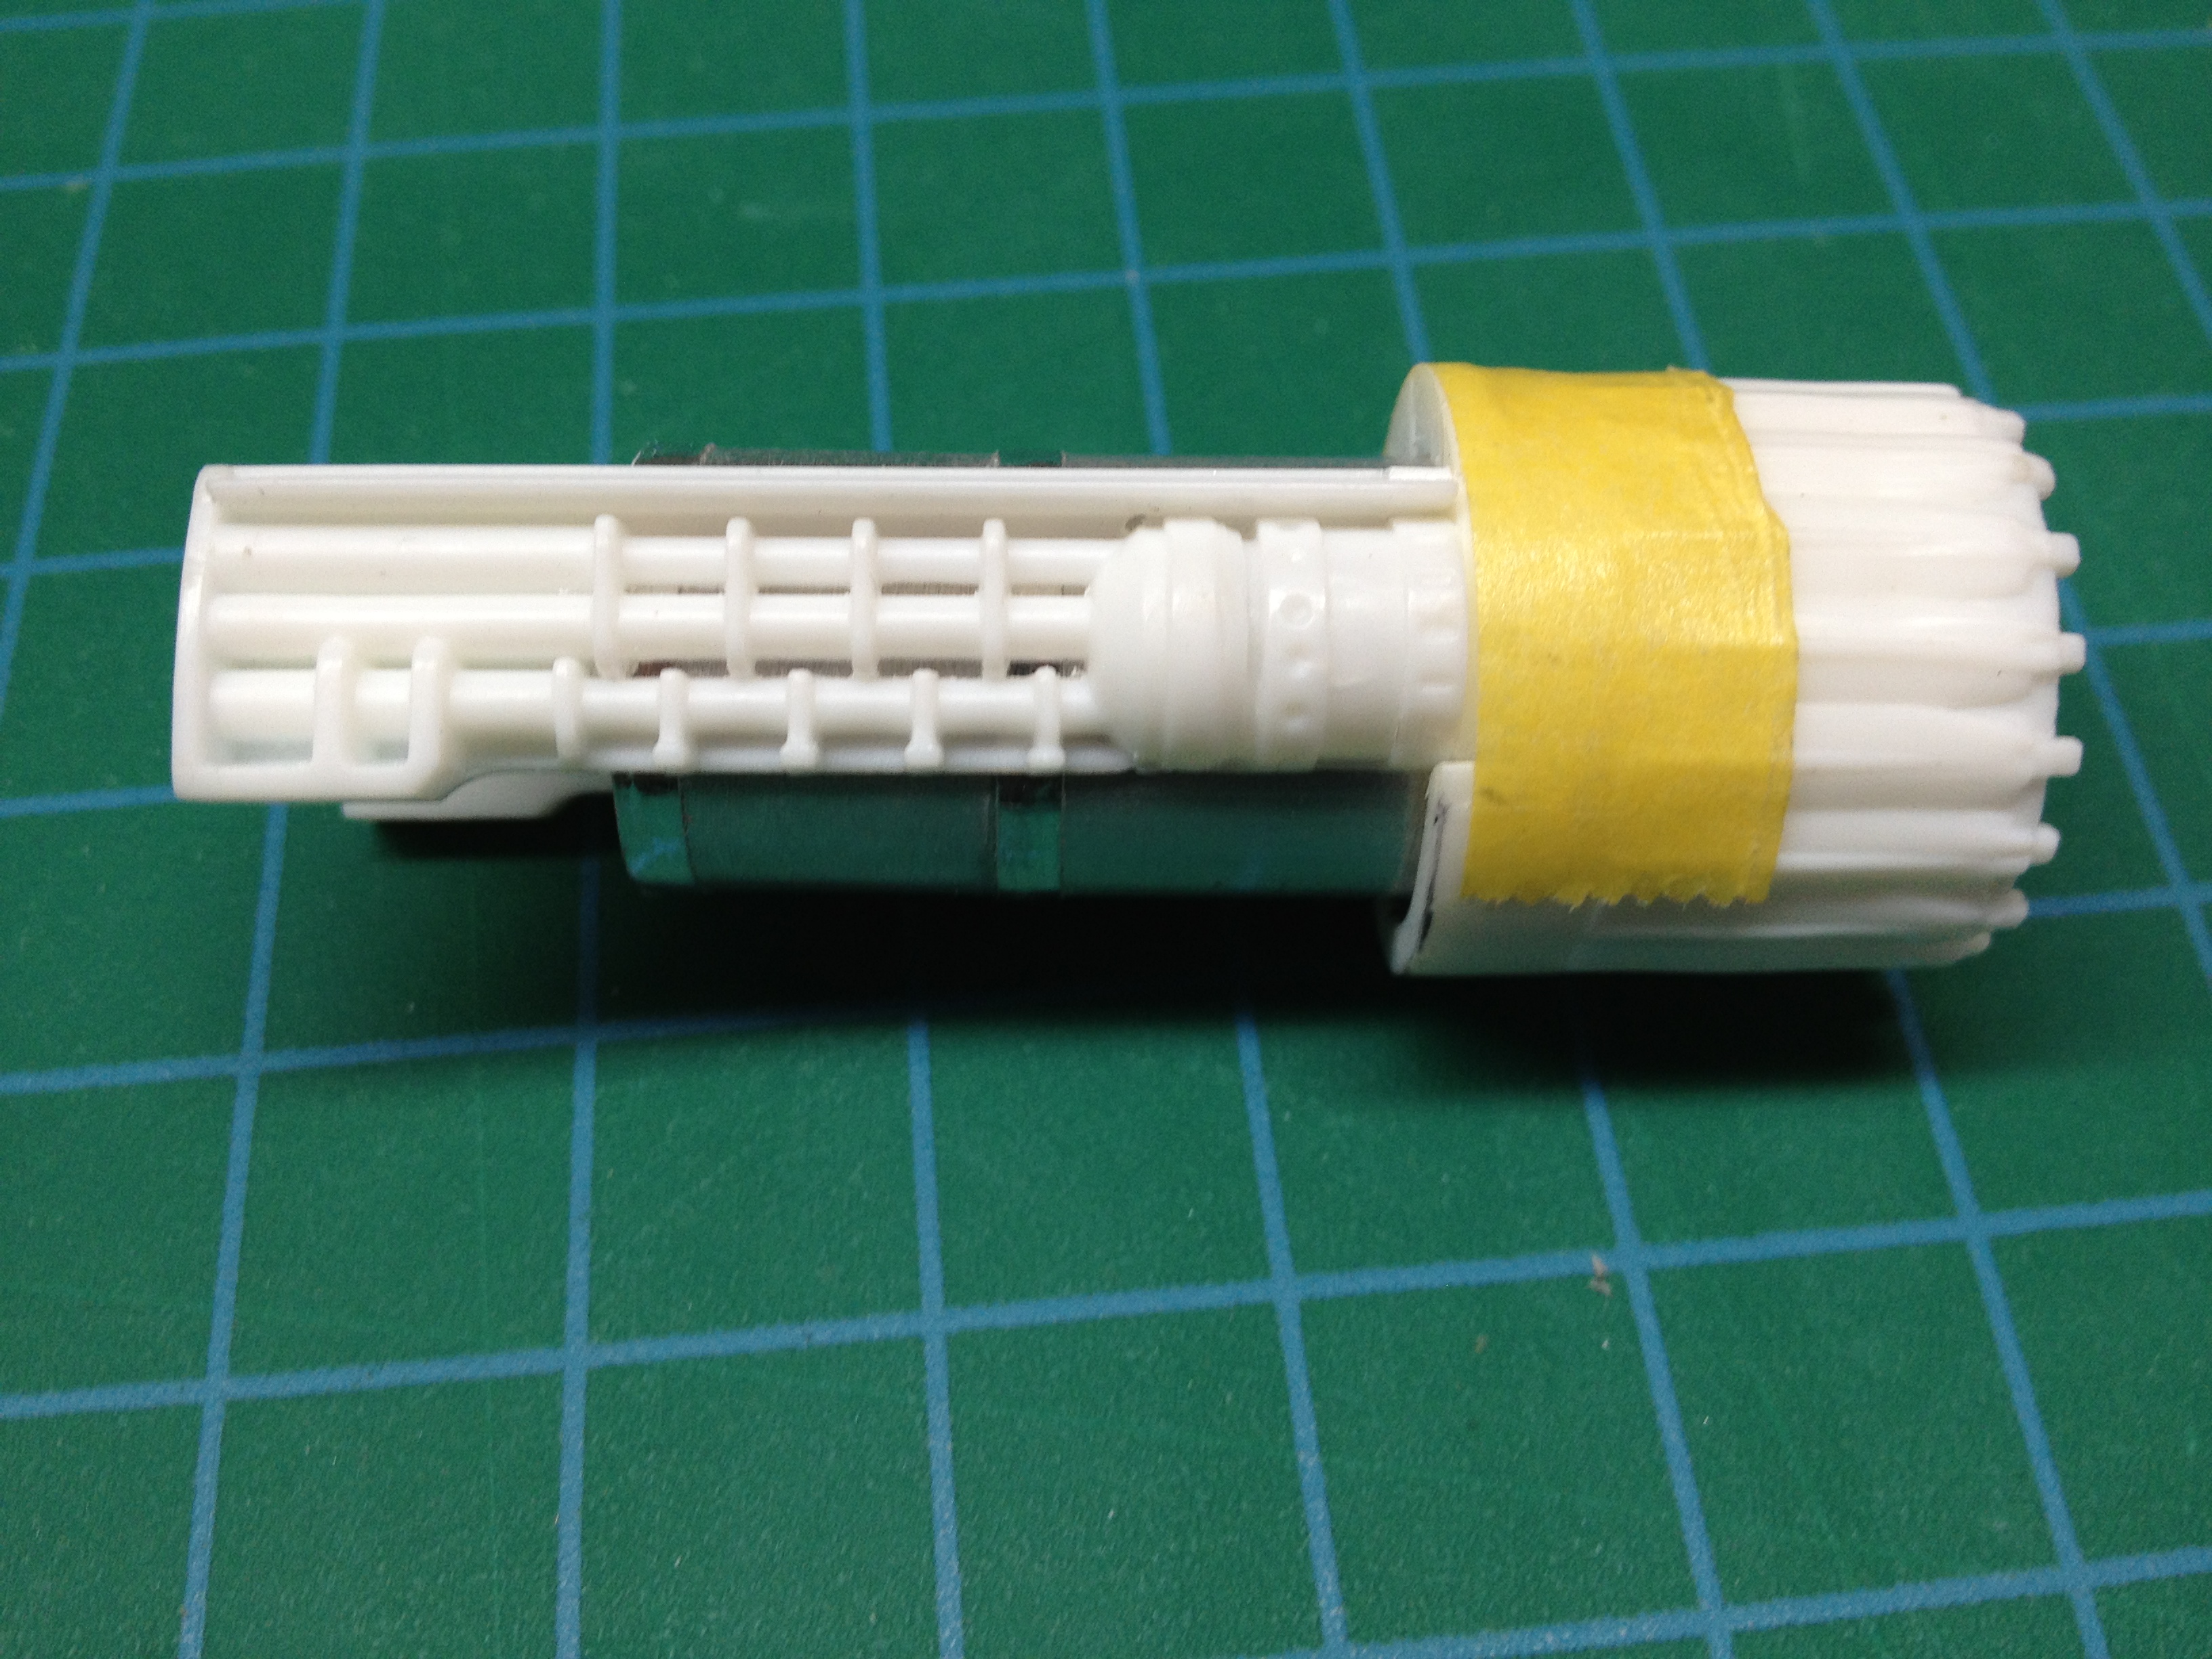
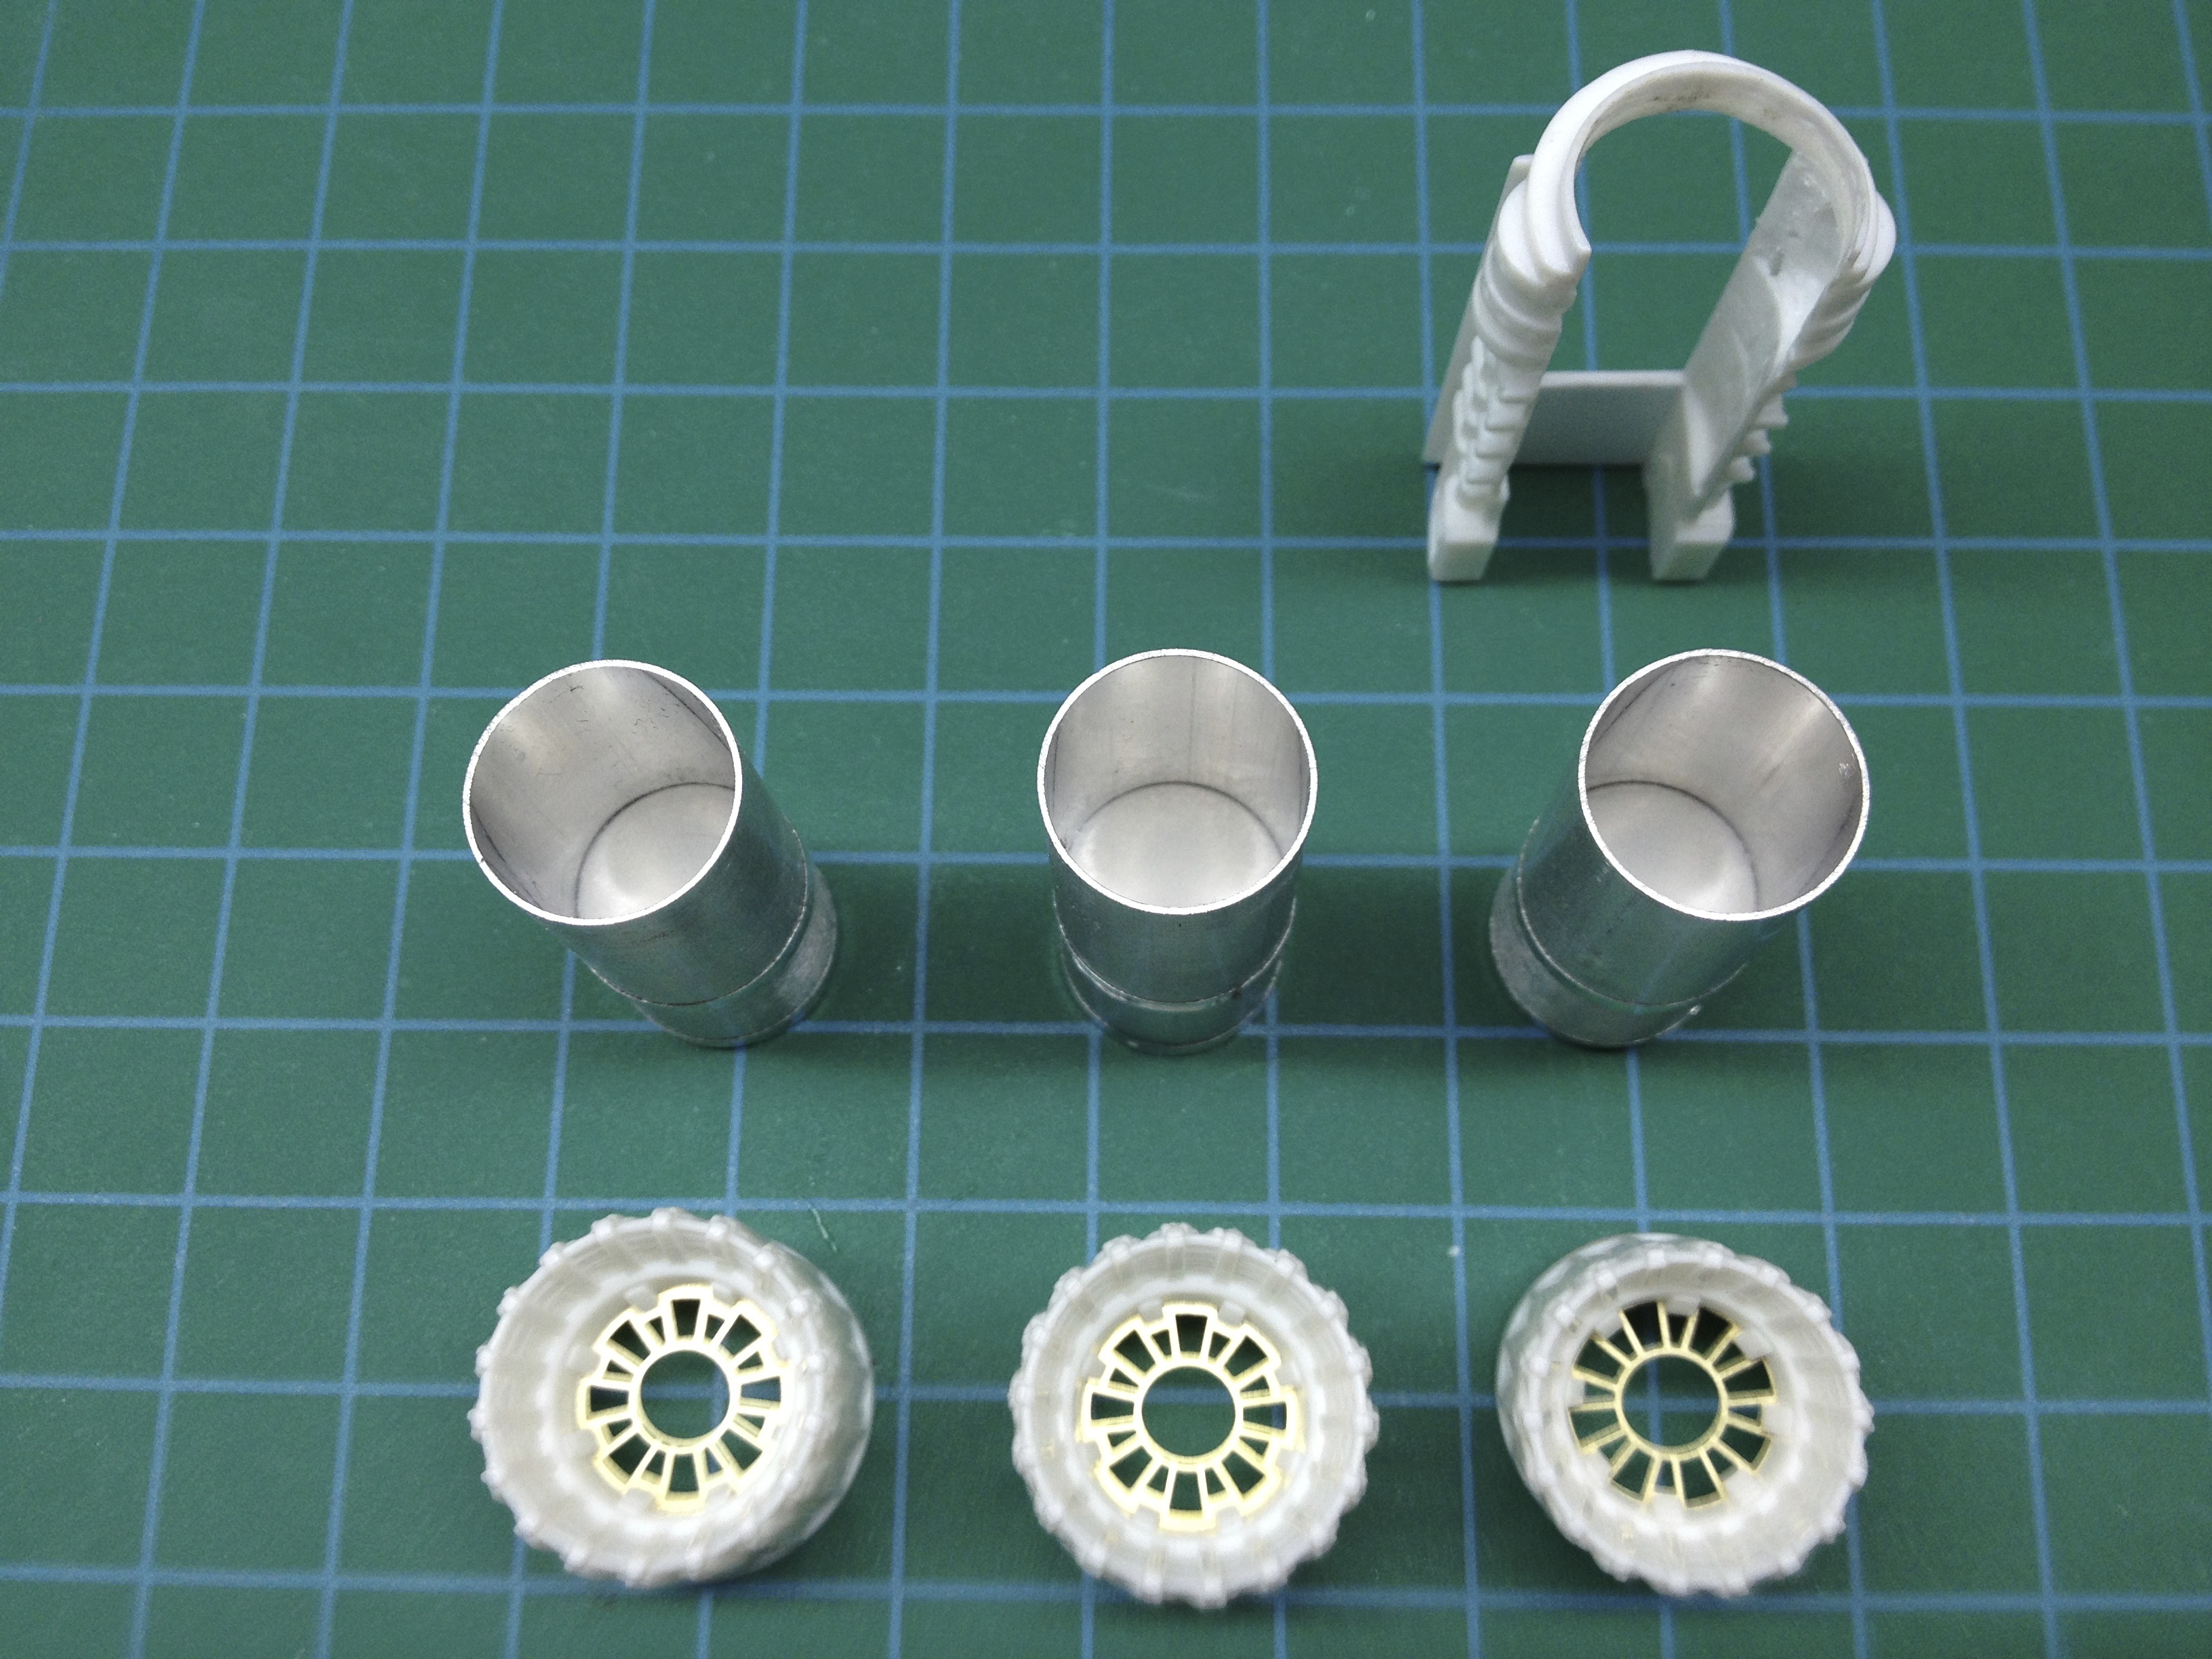
Engine Parts Laid Out
Here are the parts that make up the engine cans. End discs of .040 styrene, diffusers of .015 clear styrene fogged by sanding, and tubes of 5/8″ thin-wall aluminum tubing.
following your build with interest(please hurry up with the next instalment !!!) -could I ask you to put more comments against the (very useful) photos – interested in the light fixings for your cockpit and will be very interested in how you deal with putting the jigsaw-like body together !!!
Jeff, sorry it’s taken so long to update my progress – I’ve worked on the Viper, just haven’t got round to working on the site. I’ll be posting more soon. Thanks for your interest!